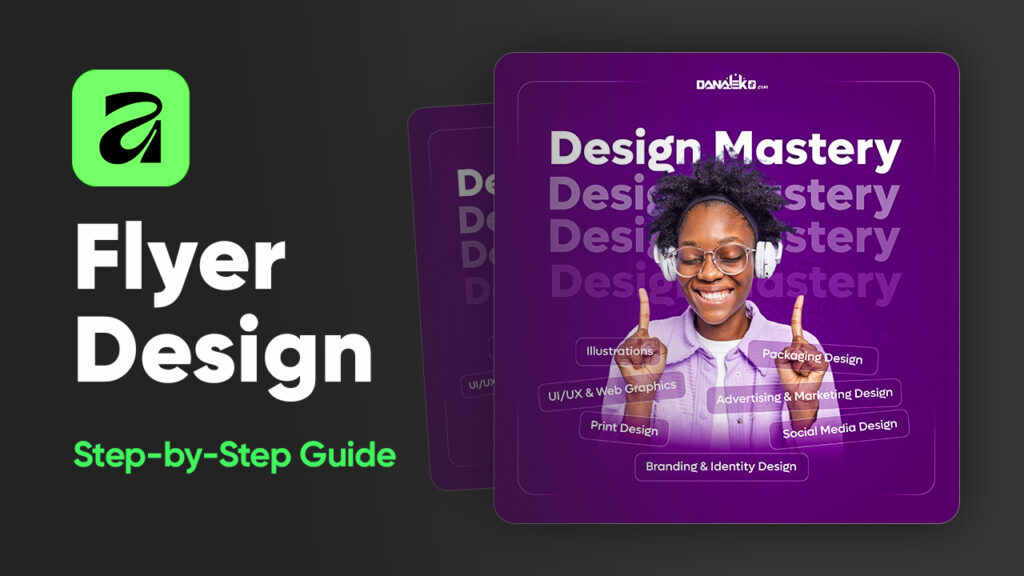
If you’re new to Affinity Designer 3 and want a practical project to sharpen your skills, this simple flyer design is a perfect place to start. In this tutorial, we’ll walk through creating a professional and clean flyer from scratch using the latest version of Affinity Designer. No experience needed, just follow along and learn as you go.
Why This Tutorial?
Affinity Designer 3 comes packed with powerful tools for creating professional graphics, yet many beginners can feel overwhelmed at the start. This project gives you hands-on experience with essential tools and panels while creating a real design you can customize and use.
By the end, you’ll understand:
- How to set up a design workspace
- How layers, masks, and panels work
- How to snap objects for perfect alignment
- How to import and manage images and logos
- How to apply blend modes, strokes, and opacity adjustments
- How to design clean, modern text layouts
Step 1: Setting Up the Workspace
When you open Affinity Designer 3, take a moment to familiarize yourself with the layout. On the left, you’ll find your tools. Some include flyouts with additional options, don’t worry, we’ll introduce them as we go.
If your interface looks different, you can reset it by going to:
Window → Panel → Reset
This ensures everyone works from the same setup, especially if you’re new to Affinity.
Step 2: Setting the Background Color
Before placing elements, we need a background color:
- Set your foreground color to the one you want for the flyer.
- Under the Fill Tool flyout, select the Flood Fill Tool.
- Click once on the canvas, this instantly fills the background.
You can change colors anytime by selecting a new foreground color and clicking again with the Flood Fill Tool active.
Step 3: Importing Your Images and Logo
Drag and drop your assets (photos, logos, and illustrations) directly onto the canvas. If the layout becomes visually cluttered, use the Layers Panel to hide or lock layers. Renaming layers also helps you stay organized.
For example:
- “Background”
- “Logo”
- “Character”
- “Main Image”
Simply double-click the layer name to edit it.
Step 4: Adjusting and Styling the Background Image
If your background image appears too large:
- Hold Ctrl and use your mouse wheel to zoom out.
- Scale the image by dragging its corner handles while holding Ctrl.
For a subtle look, change its blend mode (e.g., Screen) and lower its opacity to around 20–25%. This helps the main elements stand out.
Once you’re happy, lock the layer to avoid accidental changes.
Step 5: Adding Design Accents
Using the Rounded Rectangle Tool, draw a simple shape and set:
- Fill: none
- Stroke: white, 0.2pt
Adjust the corner radius until the shape looks balanced, and center it using snapping guides. Then:
- Add a mask layer.
- Use a soft Brush (large size, black foreground).
- Paint away portions until only the corners remain visible.
This creates a clean graphic frame effect.
Step 6: Positioning the Logo
Unhide your logo, resize it (Ctrl + drag), and snap it to the top center of the canvas. Once placed, lock the layer.
Step 7: Adding the Title
Select the Artistic Text Tool, click on the canvas, and type your title. For this tutorial:
- Font: Lufga
- Style: Extra Bold
- Size: 36 pt
- Color: white
Center the text on the page. Then duplicate it three more times using Alt + drag. Reduce opacity on each duplicate to create a fading layered effect.
Suggested opacities:
- 1st: 100%
- 2nd: 30%
- 3rd: 20%
- 4th: 10%
Lock all four text layers once done.
Step 8: Introducing the Character Image
Move the character layer to the top of the stack. Position it visually where it feels balanced design should always “feel right.”
Add a mask layer, select a large soft brush (black), and gently remove the lower parts of the character to blend it into the layout.
Lock the layer when satisfied.
Step 9: Designing the Service Boxes
Using the Artistic Text Tool, type your first service:
- Font: Lufga
- Style: Medium
- Size: 9 pt
Then draw a Rounded Rectangle beneath it:
- Fill: white, low opacity
- Stroke: white, 0.2pt
Center both elements, group or select them together, and hold Alt + drag to duplicate for the remaining services. Adjust text and rectangle sizes as needed.
Final Result
You now have a stylish and modern beginner-friendly flyer designed entirely in Affinity Designer 3. The goal of this project is not just the final design it’s building confidence with:


