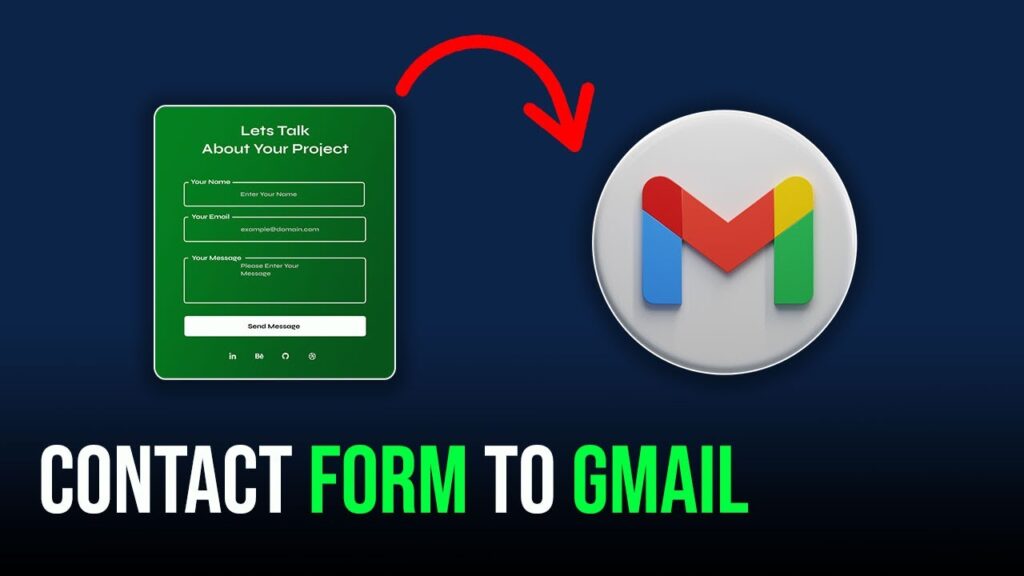
In this tutorial, we’ll guide you on how to create a contact form using HTML and CSS, and most importantly, how to receive the form submissions directly into your Gmail account without needing any server-side scripts.
What You Will Learn:
- How to create a simple contact form using HTML and CSS.
- How to send form data directly to your Gmail account with minimal setup—no server-side scripting involved.
- How to use Web3 Forms, a free service that helps handle the backend and deliver the form data to your email.
Step-by-Step Process:
- Create the Contact Form: If you haven’t already, follow along with the first part of the tutorial to build a simple contact form with fields for name, email, and message. (You can check out the previous video linked in the description for the form creation part.)
- Set Up Web3 Forms:
- Visit web3forms.com to get started. Web3 Forms is a free service that lets you handle form submissions without any server-side code.
- Sign up and get your API key by entering your email address on the site.
- Integrate Web3 Forms with Your HTML:
- Copy the action URL and input type code from the Web3 Forms site.
- Replace the
actionattribute in your form with the action URL and add the input type code to the form above the username input field.
- Insert Your API Key: Paste the API key you received in the appropriate section of your HTML code.
- Test the Form: Now, go ahead and fill out the form on your website with test data (name, email, message) and hit the submit button.
- Check Your Gmail: After submission, you’ll see the form submission data in your Gmail inbox. The email will contain the user’s name, email address, and message.
Why Watch the Full Video:
- This tutorial walks you through the entire process with simple and easy-to-follow steps.
- You’ll learn how to set up the form, handle form submissions without a backend, and instantly receive the messages in your Gmail inbox.
- No coding beyond basic HTML and CSS is required, making it beginner-friendly.
How to Get Started:
- Watch the Full YouTube Video: Be sure to watch the full video for the step-by-step guide and to see the process in action.
- Download the Full Source Code: You can grab the complete code from the bottom of this post to follow along or use in your own project.
This tutorial is perfect for beginners who want to create a working contact form and start handling form submissions without needing a complicated server setup. Enjoy building your contact form, and make sure to test it by sending a message to your Gmail account!
